Quick Installation and Disassembly Methods for Quick Mats
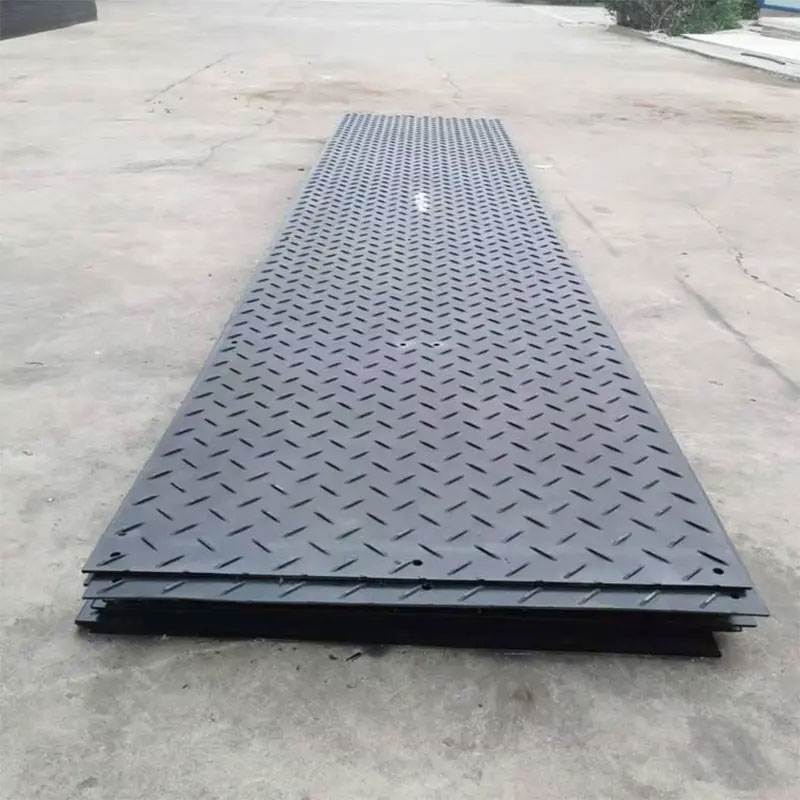
The installation of Quick Mats requires no professional tools and can be operated by one person. First, clean the laying area, remove gravel, weeds and other debris to ensure the ground is roughly flat. Lay the floor mat flat on the target position, align the edge joints, and lock them tightly using the mat's built-in buckles or splicing structure. Press and fix the spliced adjacent mats to prevent displacement. For large-area coverage, splice the mats one by one in order, and cut the edges and corners to fit the actual size.
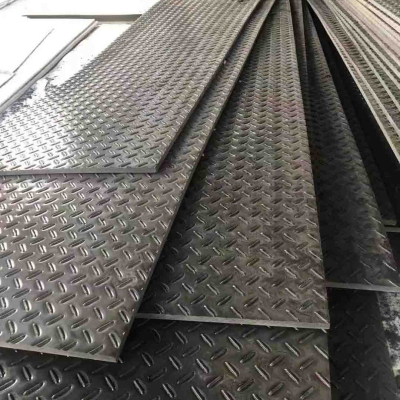
The disassembly process is equally simple. Start from the edge of the mat, gently pry the buckle connection, separate a single mat and take them out one by one. No complex arrangement is needed after disassembly; the mats can be directly stacked or rolled up, occupying little space and facilitating transportation and storage.
The entire installation and disassembly process requires no auxiliary materials such as cement mortar. A Quick Mats can be installed in just tens of seconds, and large-area laying can also be completed quickly, greatly improving construction efficiency. It is suitable for the rapid construction and demolition needs of temporary roads, construction sites and other scenarios.


