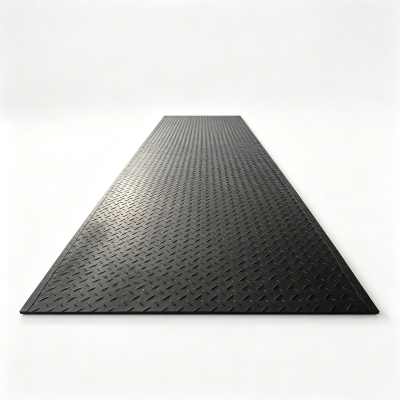
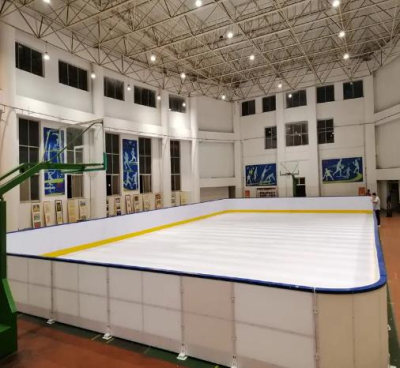
How to install the UHMWPE Fender Pads?
The installation of UHMWPE Fender Pads requires attention to the following: substrate preparation, fixing method, splicing process, and acceptance inspection. Proper operation ensures a firm fit and effective impact protection.
Substrate preparation is fundamental. Clean the fender substrate surface of oil, rust, and debris, ensuring it is flat, dry, and free of bumps or depressions. If the substrate is uneven, level it with mortar and sand it smooth to prevent gaps after installation, which would affect the firmness and impact protection.
Choose an appropriate fixing method. Select the fixing method based on the working conditions and panel material. Common methods include bolt fixing or adhesive fixing. For bolt fixing, drill holes according to the pre-set positions, controlling the bolt spacing to 30-50cm. Tighten evenly to avoid panel deformation. For adhesive fixing, use a special high-strength adhesive, apply evenly, and press to remove air bubbles.
Splicing and joint treatment are crucial. Leave a 2-3mm expansion joint when splicing panels to accommodate thermal expansion and contraction due to temperature changes. Seams can be filled with sealant to prevent moisture from seeping into and corroding the base layer, while ensuring a smooth surface and avoiding joints becoming weak points.
Post-installation acceptance inspection. After the UHMWPE Fender Pads are installed, check that the panels are tightly attached, without looseness or warping. Test the load-bearing capacity of the fixing points to ensure they meet the impact-resistant design requirements. For panels installed outdoors, check that the seals are intact to prevent rainwater erosion from affecting service life. Only after passing the acceptance inspection can the panels be put into use.